Setting up Mail on an iPhone or iPad
This guide walks you through setting up email on your Apple iPhone using the Mail app.
iPad users - Whilst the screenshots in this guide are taken on an iPhone, the steps are identical on an iPad.
1 Open the Settings application.
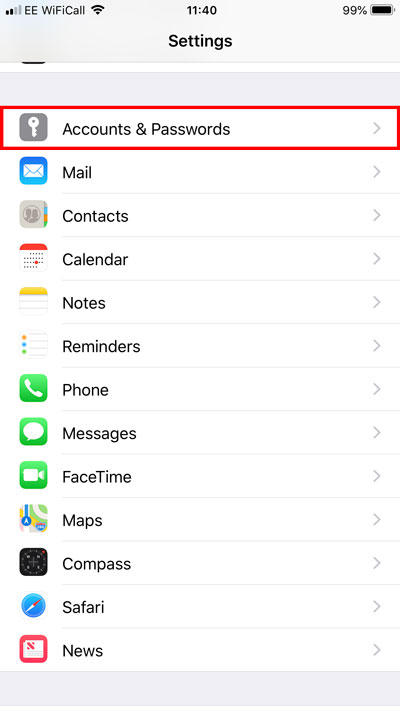
2 Scroll down and tap on Accounts & Passwords.
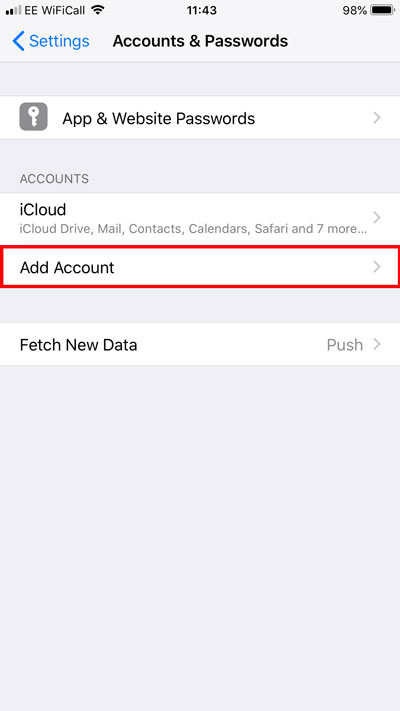
Tap Add Account.
Tap Other.
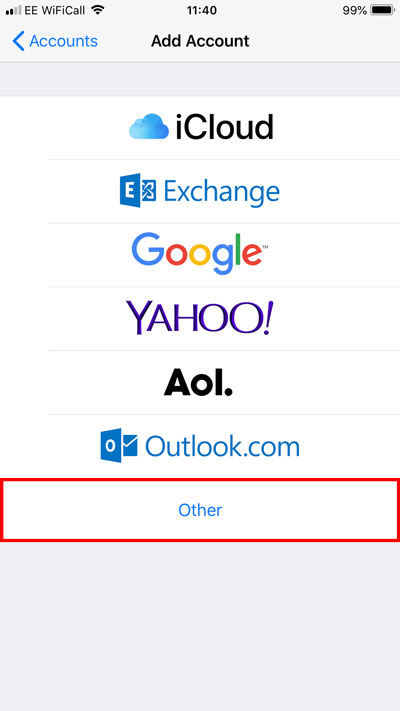
Tap Add Mail Account.

3 You will now need to enter the account details for the email address you wish to add.

Enter the information as follows:
Name: This is the name that will appear to your recipients when you send out an email.
Email: This should be the full mailbox address.
Password: This will be the password you set for the mailbox.
Description: How this email address will appear to you within the Mail app.
Click Next.
4 You will now be asked to provide some further details.
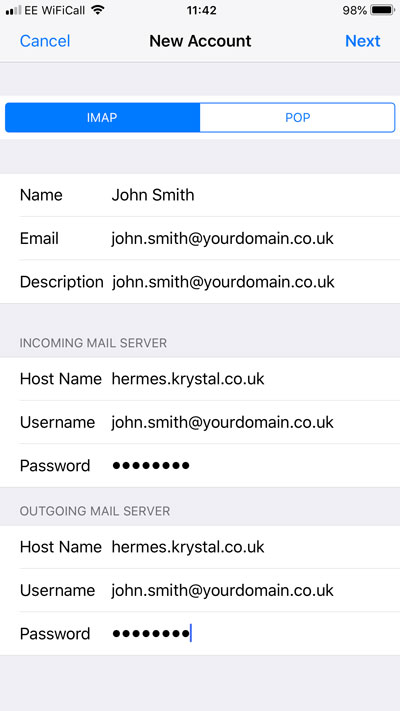
Enter the information as follows:
IMAP/POP: Select IMAP from the toggles at the top.
Name: This is the name that will appear to your recipients when you send out email.
Email: This should be the full email address.
Description: How this email address will appear to you within the Mail app.
Under Incoming Mail Server enter the information as follows:
Host Name: This should be set to either mail.yourdomain or your host server name.
Username: This should be the full email address.
Password: This will be the password you set for that email address.
Under Outgoing Mail Server enter the information as follows:
Host Name: This will be the same as the Incoming Mail Server Host Name.
Username: This should be the full email address.
Password: This will be the password you set for that email address.
Click Next.
5 For email to work Mail must be turned on.
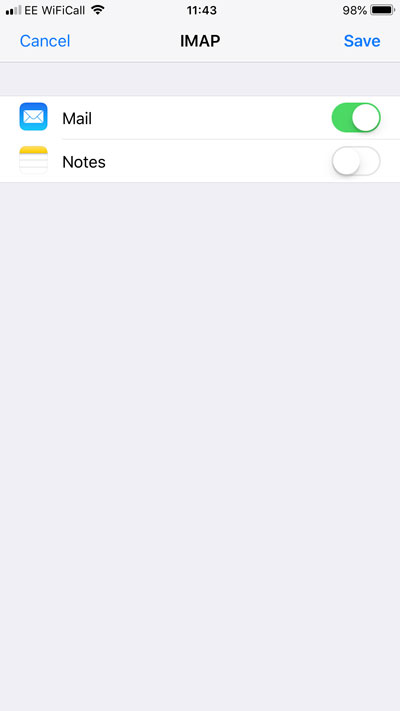
It is at your discretion whether you would like Notes you create in the Notes.app to store on our server or not. Typically most iOS users employ iCloud for this so leave it switched off unless you specifically require this feature.
Click Save.
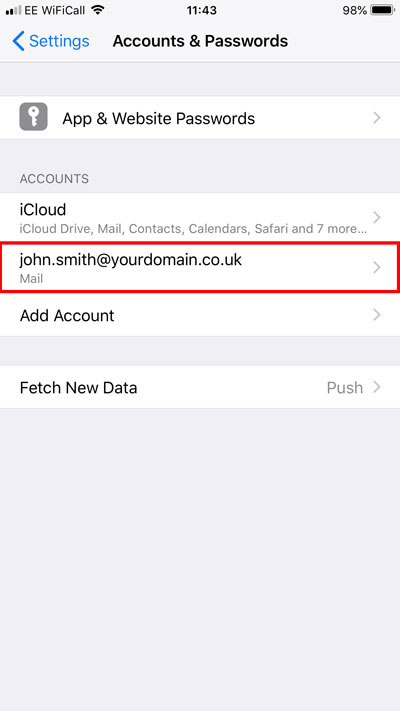
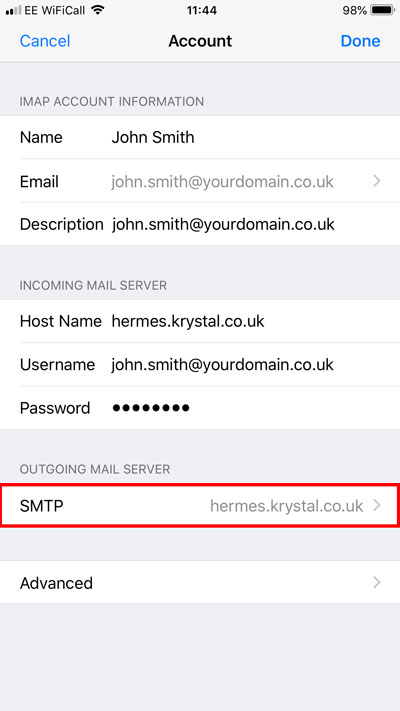
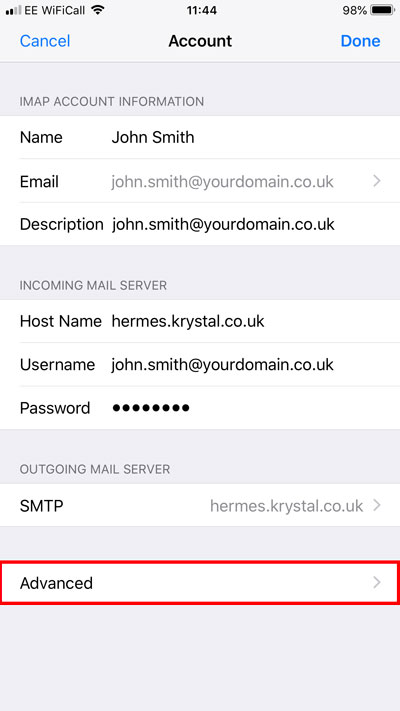
6 The email account has now added. However, there are still some additional settings to check. Tap on the newly created email account.
Under IMAP, tap the email address.
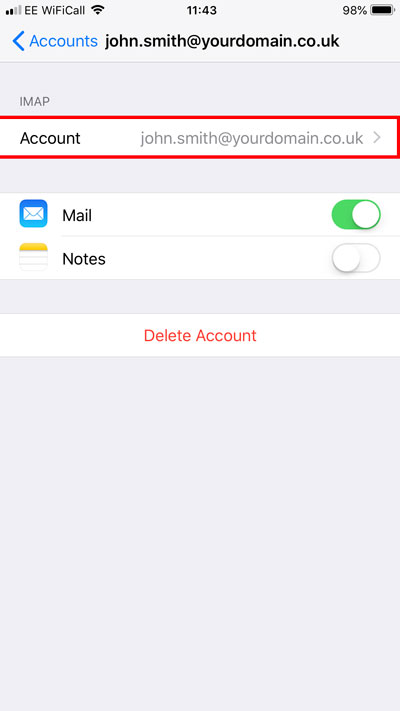
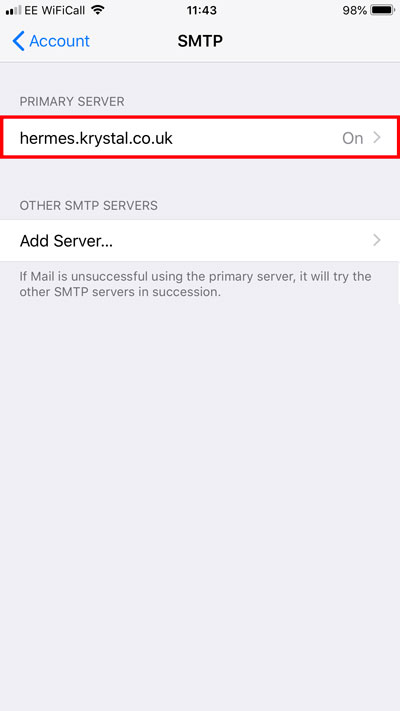
7 Tap the line titled SMTP.
Tap the Primary Server record.
Ensure the following details are correct:
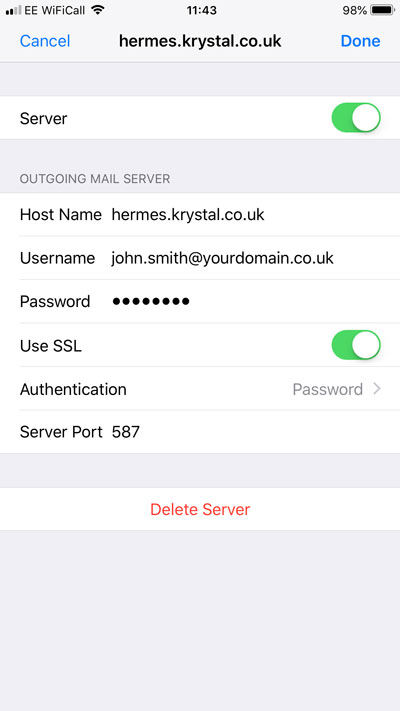
Server: On
Use SSL: On
Authentication: Password
Server Port: 587 or 465
Tap Done (top right).
Tap Account at the top left.
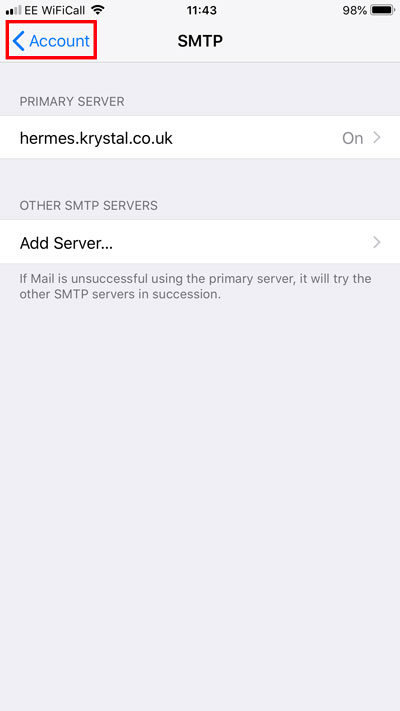
Now tap Advanced.
Scroll down to the bottom of this screen. Ensure the following details are correct:
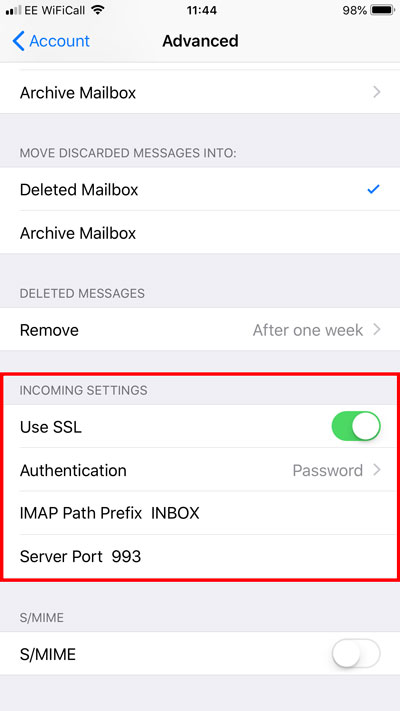
Use SSL: On
Authentication: Password
IMAP Path Prefix: INBOX
Server Port: 993
Click Account to return to the previous screen at the top left.
Click Done (top right).
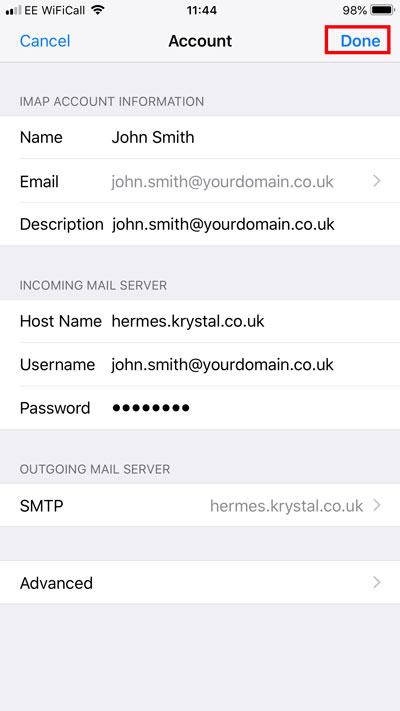
Your account should now be added and available in the Mail app.